After setting up a WordPress theme, one of the first tasks is to add a logo to your WordPress site. Why is the logo so important? Because the logo is the first thing you notice about a website. The logo is more than just an image or icon at the top of your site. It’s the face of your company or organization.
By default, WordPress displays your website Title and Tagline in the header of your site. However, adding your Site Logo is very simple. The Custom Logo is a WordPress built-in feature since version 4.5. Most WordPress themes support this feature.
To add a logo to your WordPress site, follow these simple steps:
How to add a Logo on WordPress
1Go to Appearance » Customize page in your WordPress Admin
2Click on the Site Identity section from the left panel
3Click on “Select Logo” and upload your logo image (gif, jpeg, or png)
4Click on Save & Publish button
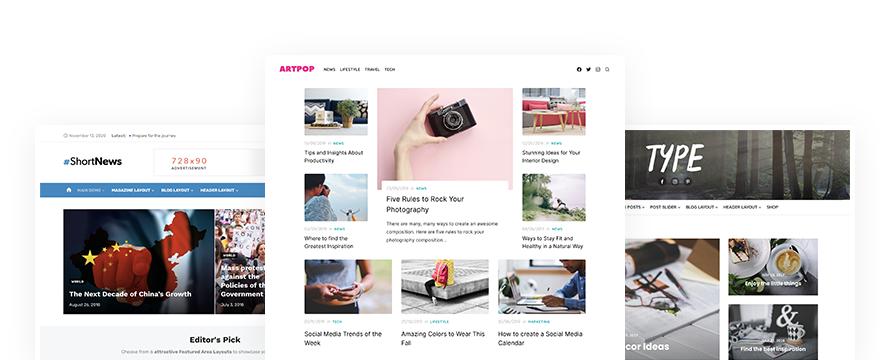
With our Premium WordPress Themes you can easily upload and customize your Site Logo. In addition, you can set the Logo Size, the Logo position, and more.
How to create your Site Logo
There are many ways to create a logo on your own if you don’t have one.
You can create a custom logo by using an image editing program, but it may not look professional.
If you get inspired, you can create a logo or a banner image by yourself with Canva, a free online tool: https://www.canva.com
You can choose from hundreds of templates, grouped by category. Once you’ve chosen a template, you can customize your design with intuitive editing tools.
But, if you are not familiar with the logo design, there are always fonts.
Our Premium WordPress themes come with advanced Typography options: you can customize the font of your Site Title, and give a touch of creativity to your site.
Changing or Removing your Logo on WordPress
Once you uploaded your logo, you can change or remove it using the Remove Logo and Change Logo buttons.